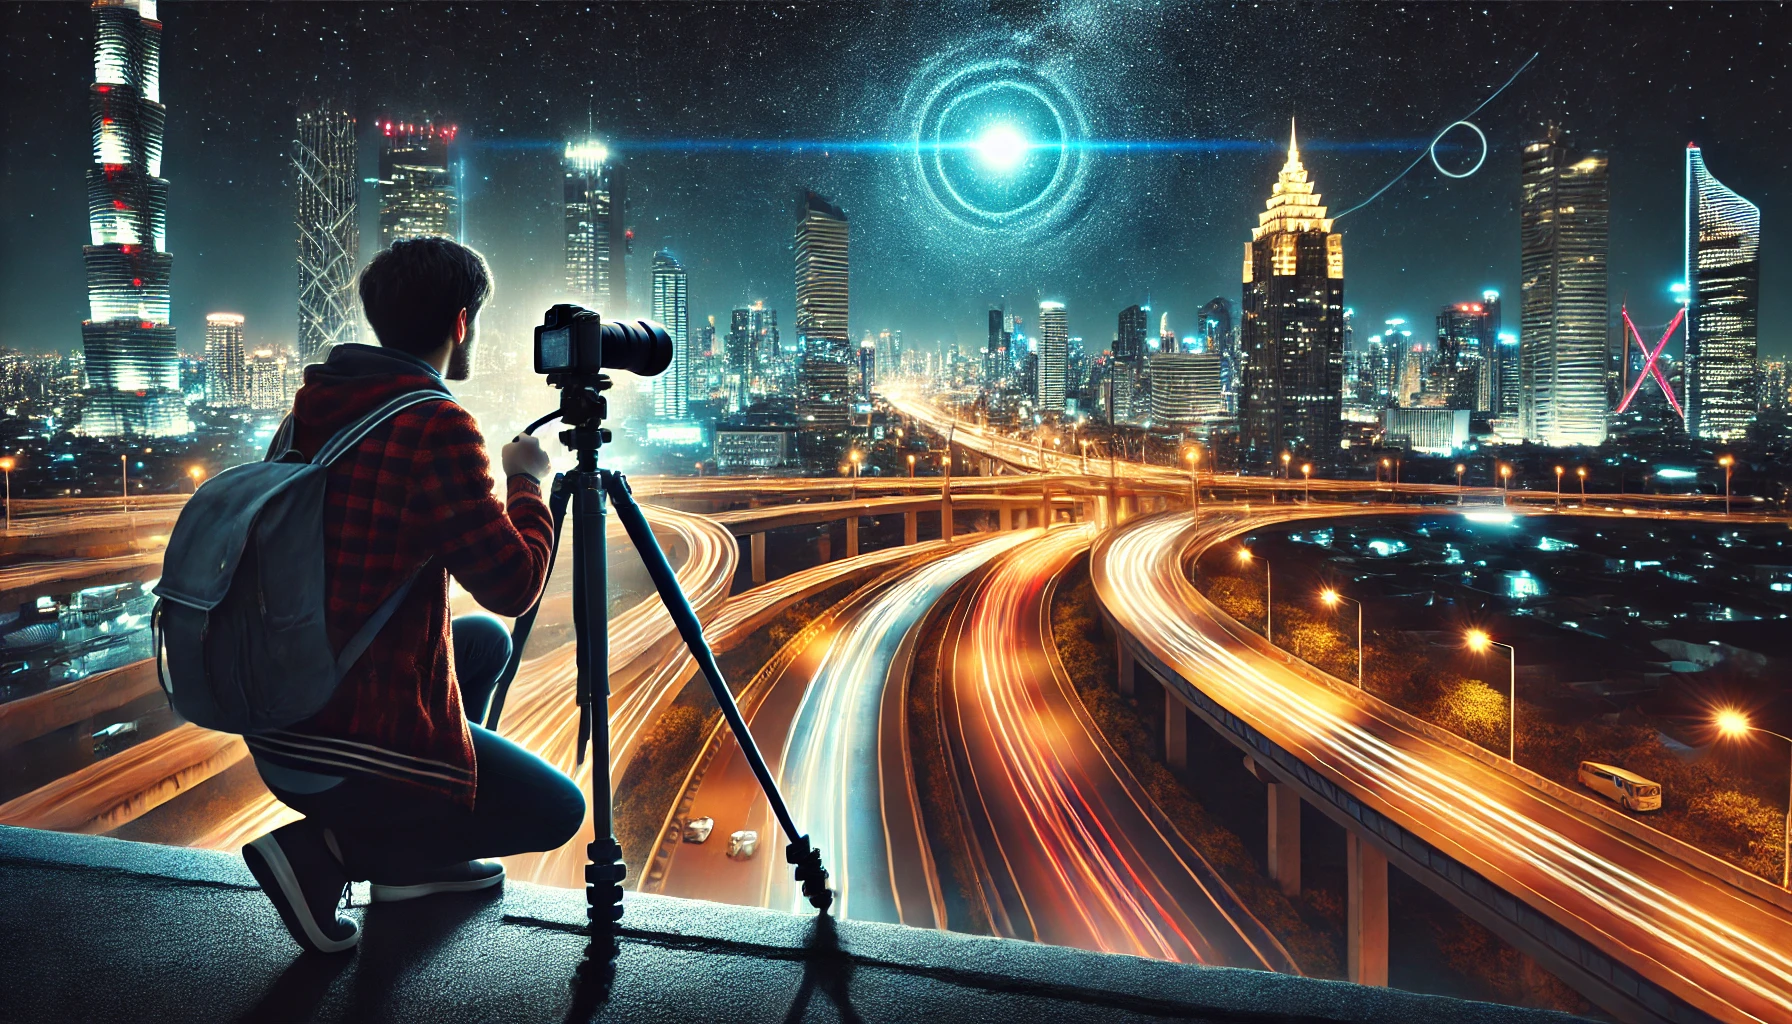
Night photography allows you to capture the magic of cities, starry skies, and illuminated landmarks. However, shooting in low light can be challenging without the right techniques and equipment. Here’s a guide to help you capture breathtaking night photos during your travels.
1. Use a Tripod
A tripod is essential for night photography to keep your camera stable during long exposures. Choose a lightweight, travel-friendly tripod that fits in your backpack.
Set it up on a flat surface and use a remote shutter release or your camera’s timer to avoid shaking.
2. Shoot in Manual Mode
Switch to manual mode for greater control over your camera settings:
- Shutter Speed: Use slower speeds (e.g., 10-30 seconds) to let in more light.
- Aperture: Open the aperture wide (e.g., f/2.8) for brighter shots.
- ISO: Start with a low ISO (100-400) to reduce noise, but increase it if needed.
Experiment with different combinations to find the right exposure.
3. Focus Manually
Autofocus can struggle in low light, so switch to manual focus for sharper images. Use your camera’s live view and zoom in on your subject to adjust the focus precisely.
Focus on a bright area, such as a streetlight or the stars, for accurate results.
4. Use Long Exposure Techniques
Long exposures create dramatic effects like light trails, smooth water, or detailed stars. For example:
- Capture car light trails by setting a 10-15 second exposure.
- Smooth out ocean waves with a 20-30 second exposure.
- Photograph star trails by stacking multiple long-exposure images.
Use a sturdy tripod and remote shutter for best results.
5. Shoot in RAW Format
RAW files preserve more image data than JPEGs, allowing greater flexibility during editing. This is especially useful for adjusting exposure, noise, and colors in night photos.
Ensure you have ample storage, as RAW files are larger than JPEGs.
6. Take Advantage of Artificial Light
Cityscapes and landmarks are often illuminated at night, providing excellent opportunities for dramatic photos. Look for:
- Neon signs and streetlights for vibrant colors.
- Reflections on wet streets or rivers.
- Iconic buildings lit up against the dark sky.
Use light sources creatively to enhance your composition.
7. Adjust White Balance
Night scenes can have varying light temperatures, such as the warm glow of streetlights or the cool tones of moonlight. Adjust your camera’s white balance to match the lighting:
- Use “Tungsten” for artificial lights.
- Use “Daylight” or “Custom” for natural moonlight.
White balance adjustments can be refined further during editing.
8. Reduce Noise in Your Photos
Long exposures and high ISOs can introduce noise. To minimize it:
- Use your camera’s noise reduction settings.
- Keep your ISO as low as possible.
- Apply noise reduction during post-processing with software like Lightroom or Photoshop.
9. Experiment with Creative Shots
Night photography offers unique creative possibilities:
- Light Painting: Use a flashlight or sparkler to draw shapes or words in your frame.
- Silhouettes: Position a subject against a brightly lit background.
- Reflections: Look for reflective surfaces, such as puddles or glass.
Let your imagination guide your composition.
10. Scout Locations in Advance
Visit your shooting location during the day to find the best angles, foreground elements, and vantage points. Familiarity with the area will save time and help you set up quickly at night.
Consider safety and ensure you have proper lighting if shooting in remote areas.
Final Thoughts
Capturing stunning night photography while traveling requires patience, practice, and the right gear. By mastering your camera settings, using a tripod, and embracing creativity, you can produce mesmerizing images that showcase the beauty of the night.

